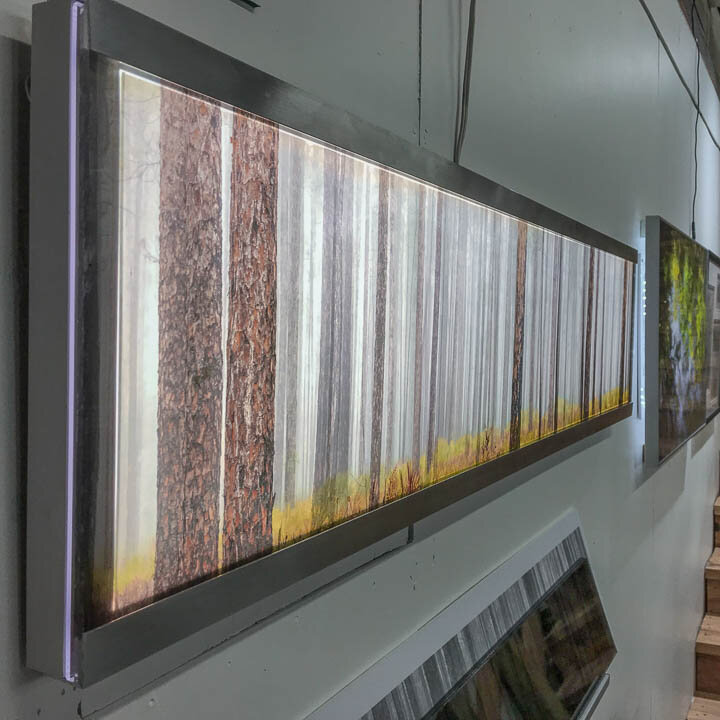
Experimental backlit layered images (3) printed on HP Clear Film using 1’x4’ LED light fixture
We are consumers of backlit media. Starting from TVs, then tablets to phones, the majority of images that we see are backlit. The sign and tradeshow industry has always championed methods to produce large attention-grabbing graphical displays, and they figured out the backlit format many years ago. I started printing on Epson Display Trans Backlight media several years ago, and have always been impressed with the image quality and effectiveness of the media’s ability to disperse the lighting source throughout the display. The problem for most applications is not the print itself but the requirements of the lighting source and the mounting issues of the print. With the advent of affordable LED grids and edge strips, intense light at lower power consumption and small form factor has made the construction of large light boxes possible, as an alternative to fluorescent fixture installations. But the securing of the print remains an issue for large displays.
For photographers with pigment based printers (i.e., our Epson, Canon, and HP inkjets) we have the ability to print on the media, but the mount poses some specific problems. The surface of the print is fragile and subject to scratching, and if fronted with a piece of glazing, subject to moisture retention and adhesion. The print itself must also be supported by a piece of clear substrate, either face mounted or back mounted.
Face-mount acrylics are prevalent throughout the industry and produce stunning prints. This is the technique where a clear acrylic sheet is adhered to the face of the print with a clear adhesive, similar to a big piece of double stick tape. As you can imagine, this requires meticulous attention to detail and dust-free conditions, and these mountings are very expensive ($75/sf and more). Yes, you can use this technique to mount a backlit media print, but for a 4x8 panel, this can be quite expensive ($2400+). And I would challenge you to find a vendor who would be willing to do a 4x8 sheet.
The alternative I have been exploring is applying a vinyl over-laminate to the backlit-media print, then back mounting the print to acrylic. The vinyl over-laminate seals and protects the surface of the print (much like a Waffle House menu) and the application of the over-laminate does not require the critical conditions of the acrylic face-mount. A tiny bit of dust is not visible. For heavily trafficked areas like hospital corridors, an additional piece of acrylic or tempered glass can be placed in front of the mount without fear of sticking or moisture conditions. This also allows change-out of the graphic should conditions warrant.
Recently I invested in a large format laminator so that i could handle substrates up to 54” wide. This is basically two silicone rollers that allow you to apply various roll laminates to materials as they pass through the machine. They are low-tech but precision instruments and I have to confess, needs some practice to master. Making a fair share of screw-ups is a required right of passage. In other words, don’t run that 4x8 sheet of acrylic on your first try.
Many photographers elect not to get involved with production processes, or even printing. I completely understand this position, and if I were not a masochist with the production side of the print I would not put money, time, and significant effort into mastering these techniques. It does bother me that a $400 image license is turned into a $6000 production job, and that the artist misses out on a significant part of the value for a piece because they do not participate in production (which is an art unto itself). It is not an impossible task to accomplish, but not for the weak of heart.
Here are a few projects made with this technique. Sizes range from 25’x8’, 13’x5’, 9’x9’.


